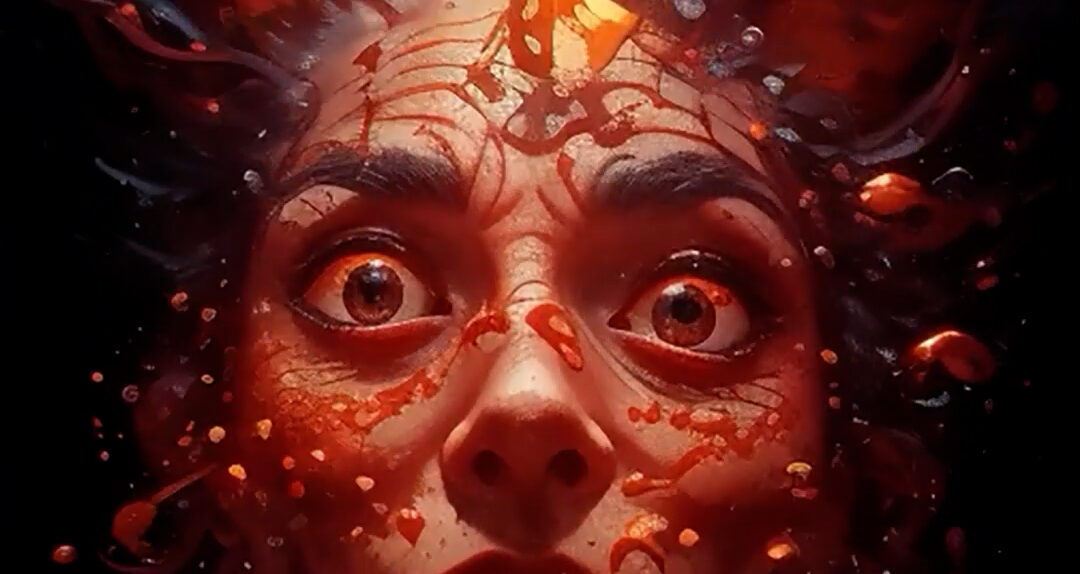
This quick tutorial will show you how I created this audioreactive animation in AnimateDiff
The above animation was created using OpenPose and Line Art ControlNets with full color input video.
These instructions assume you have ComfyUI installed and are familiar with how everything works, including installing missing custom nodes, which you may need to if you get errors when loading the workflow.
This workflow is for SD 1.5! I have yet to set up a SDXL AnimateDiff workflow, so if you’re looking to do SDXL animations you’ll need to adapt this workflow for that.
To get started, you’ll need to prepare your audio clip for importing into Comfy. You can use any music visualizer you like, (Milkdrop, Winamp, etc.) but the easiest way to get started is to go to https://vizrecord.app and upload your audio clip. Set the fps to whatever you want your final animation to be. I recommend 30fps.
Pick a preset you like (this might take awhile!) and record your video. Some presets work better than others, I like to choose ones without too many details and ones that really have a lot of dynamic movements. You’ll need to experiment!
Download the .webm file and import that into the input video node in Comfy. The attached workflow has a group of nodes to desaturate the video and create a mask, which works well when using QRCode Monster ControlNet, but you may prefer to leave your input video in color.
Try different ControlNets to find what works best for the look you want. I’ve used Line Art, Tile, QRCode, and even Open Pose, and some combination of all of them. I usually use LoRAs because they really make a difference in the output.
I hope this gives you a good starting point to do some cool audioreactive videos in Comfy! If you make something, tag me on Instagram @kacia_ai, I would love to see what you create! Have fun!
This method works for Deforum, too! Just plug your desaturated input video into the QRCode CN in hybrid mode.


